Design Manager was created to make running an interior design business as easy as possible. Our new Trial Assistant will walk you through inputting the essential details to establish your company, and in a matter of minutes you’ll be able to try the many amazing features that can quickly transform your business into a model of efficiency, organization, and professional presentation.
The Trial Assistant Makes it Simple
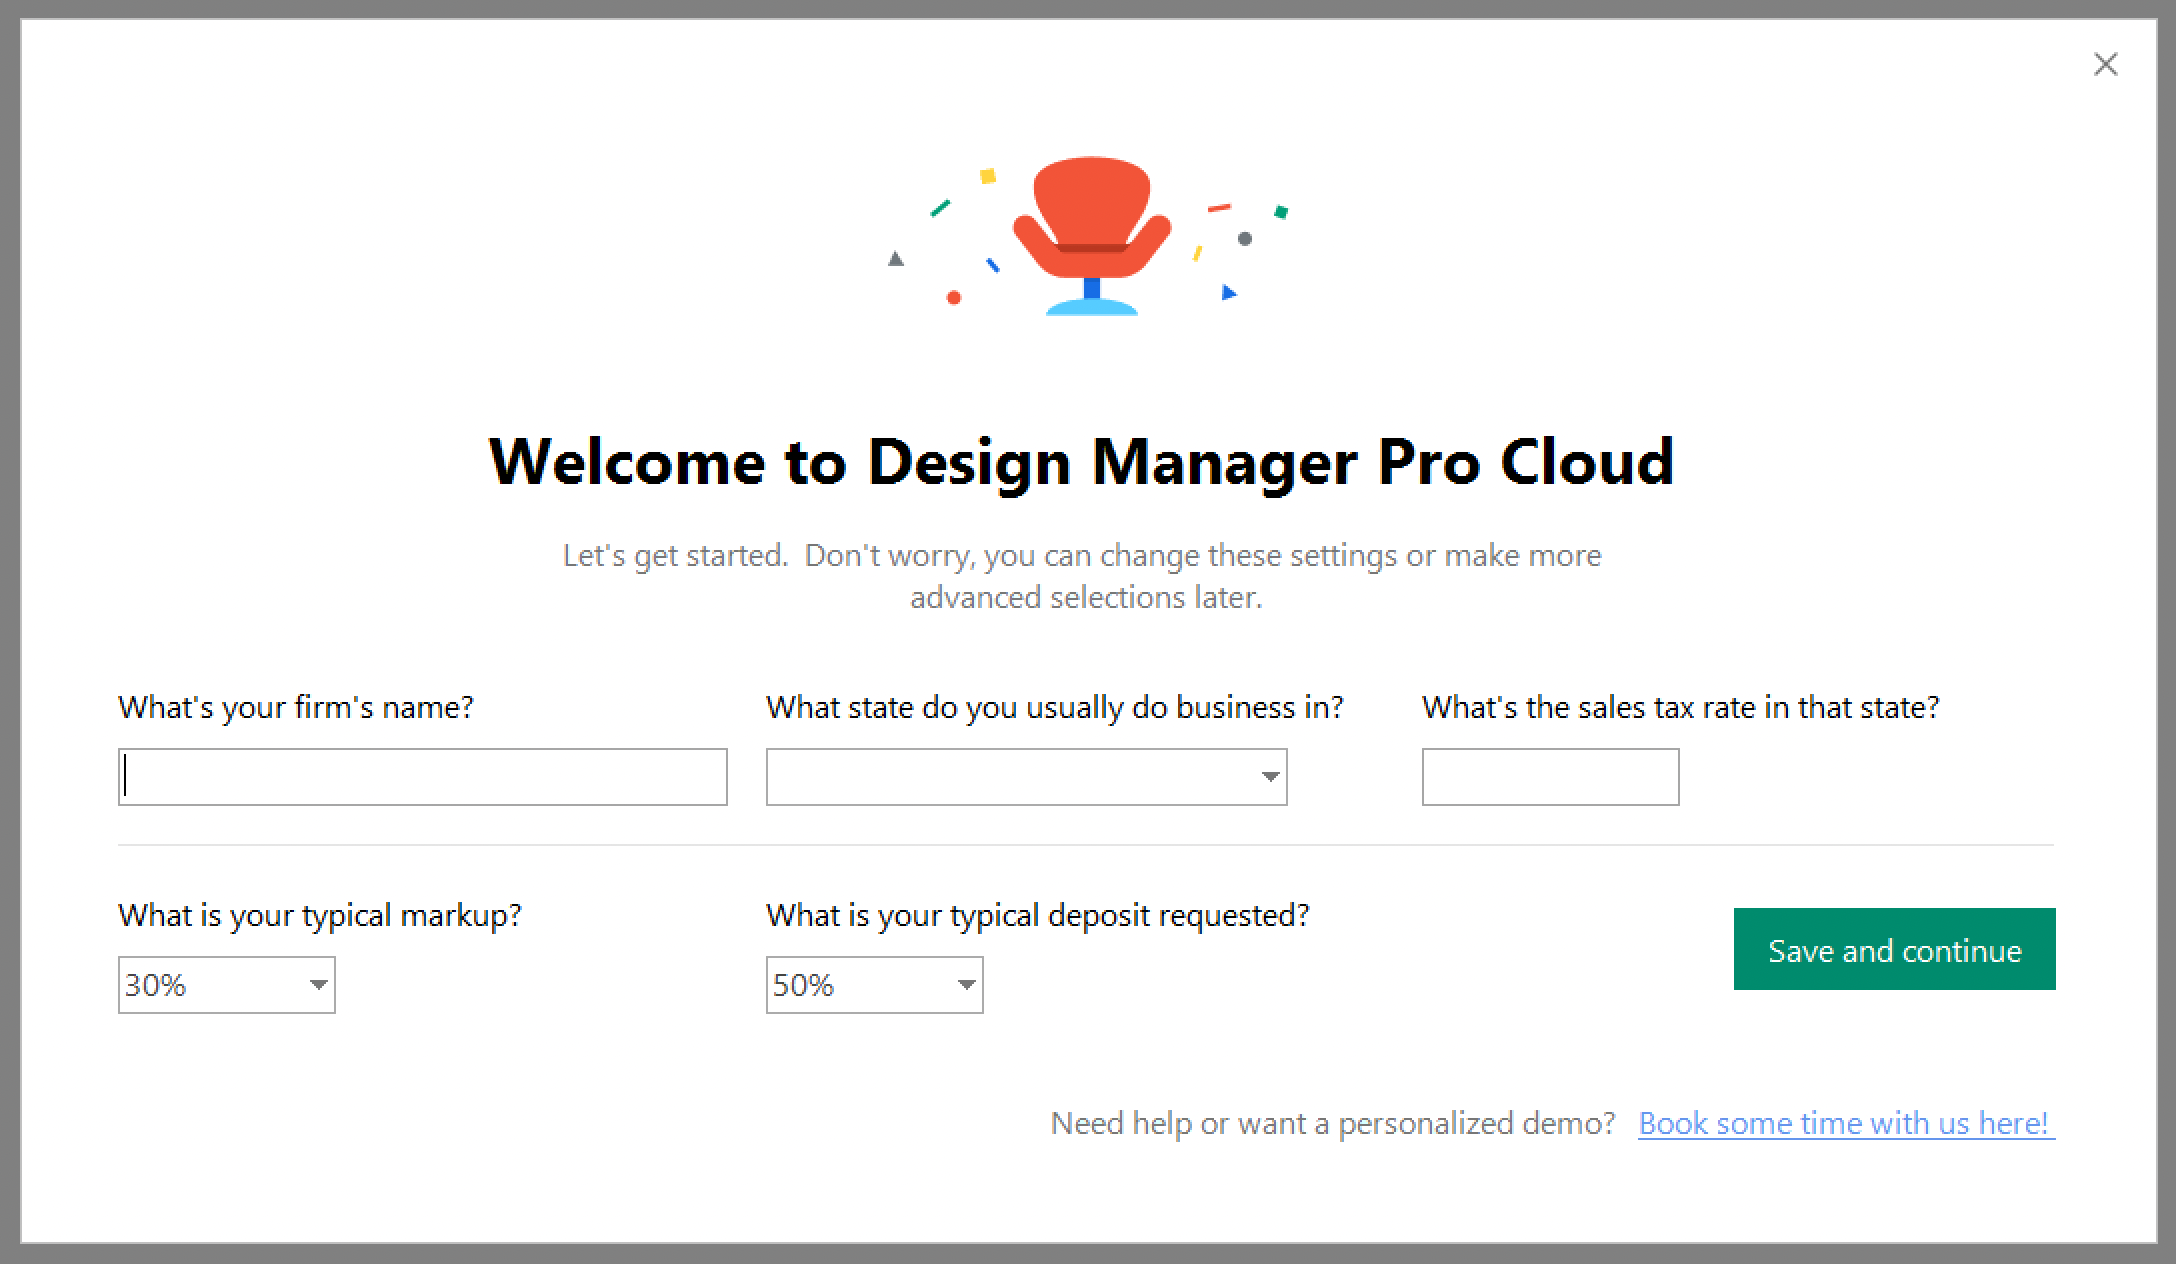
It can be challenging to navigate through the many menus and figure out how to use various features when you’re trying out a new software system. The Design Manager Trial Assistant makes it simple; prompting you to enter a few essential pieces of information like your company name, the state you primarily work in, the sales tax in that location, your typical markup and lastly, your typical deposit amount.
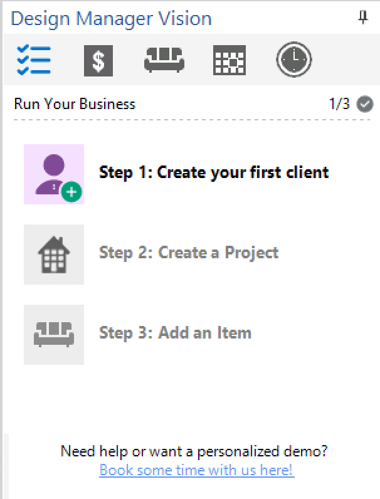
Next, the Trial Assistant will take you through the first three building blocks of Design Manager: adding a client, creating a project, and adding an item to that project.
 Once you enter even one of each of these three fundamentals, you can start seeing all of Design Manager’s potential to take your business to the next level, including creating reports and beautifully branded client documents.
What's Next?
To see just how easy it is to create sleek and professional client documents in Design Manager, start by importing your client and vendor contacts.
Importing Client and Vendor Contacts
All you need to do is compile your data into a CSV or Excel format file, and then follow a few simple steps.
Step 1:
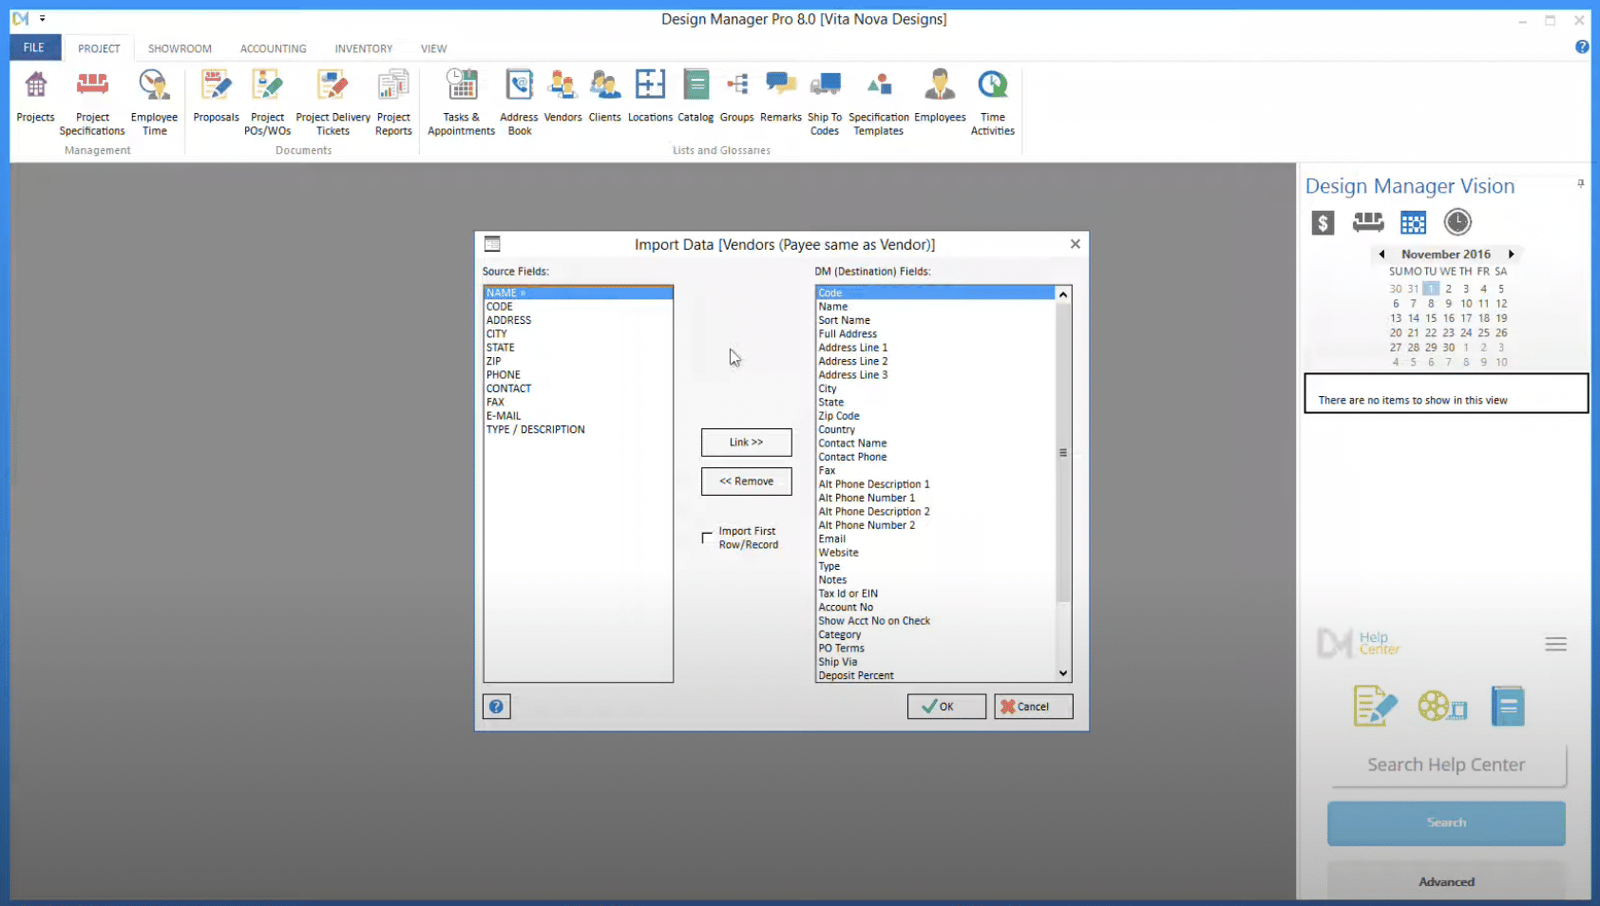
Go to File > Import and then select Client or Vendor. Once there, you match your source fields to the Design Manager destination fields by clicking the correct field in each column and pressing “Link”.
Step 2:
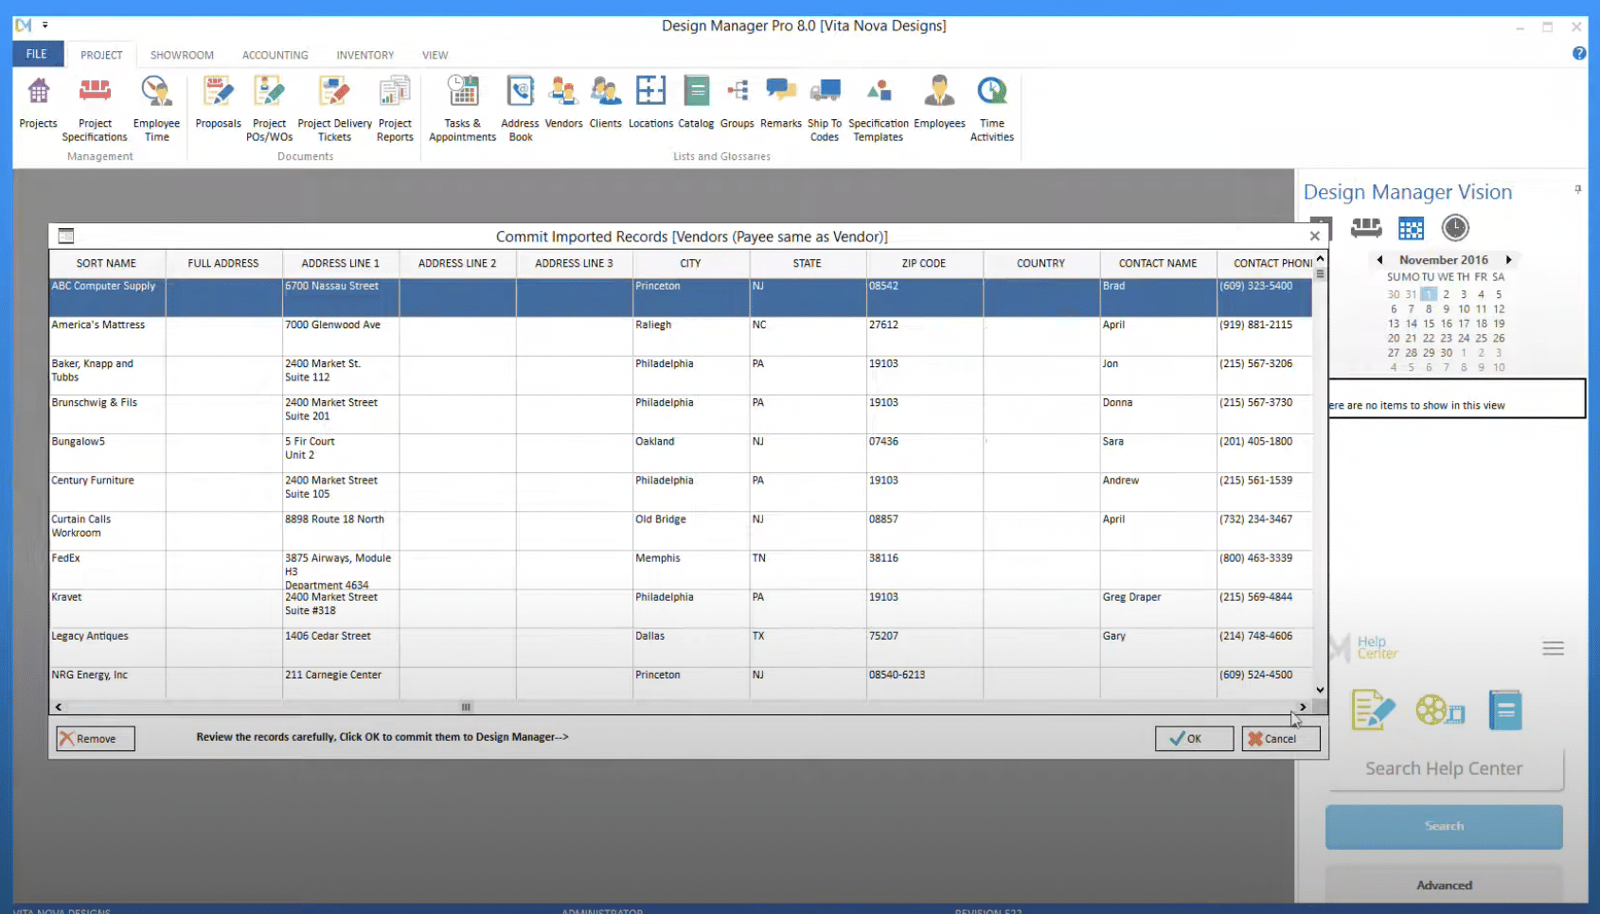
After completing the process and clicking, “OK”, you will next see the “Commit Imported Records” spreadsheet, which will show you how your data will be imported. This gives you the chance to correct any mistakes before completing the migration.
Step 3:
After clicking “OK” , you will receive a pop-up notification when the process is completed!
 Creating Your First Document
Reaching the ah-ha moment of that first beautiful proposal is just a few steps away!
Step 1:
Start by clicking the “Proposals” button on the top navigation bar.
Step 2:
Once you are in the “Proposals and Documents” window, select a project - which you have just created with the help of the Design Manager Trial Assistant – and then click the “Add” button at the bottom left of the window. From here you will be directed to a second pop-up menu, the “New Proposal” window. This will show all of the items for that project for which a proposal has not yet been created.
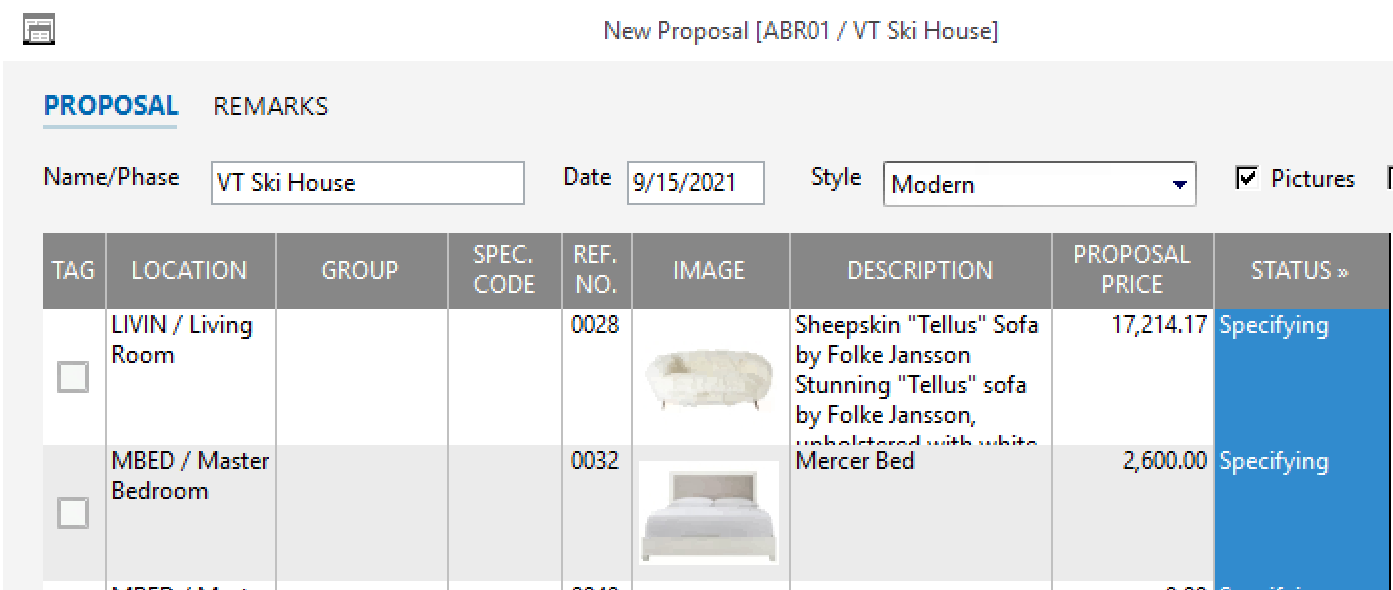
Step 3:
From here, you can select an item, change its name, and choose a proposal style (for example, residential, commercial, modern, etc). To include that item on the proposal, be sure to click on the check mark next to it on the left hand side, under the “Tag” column.
Step 4:
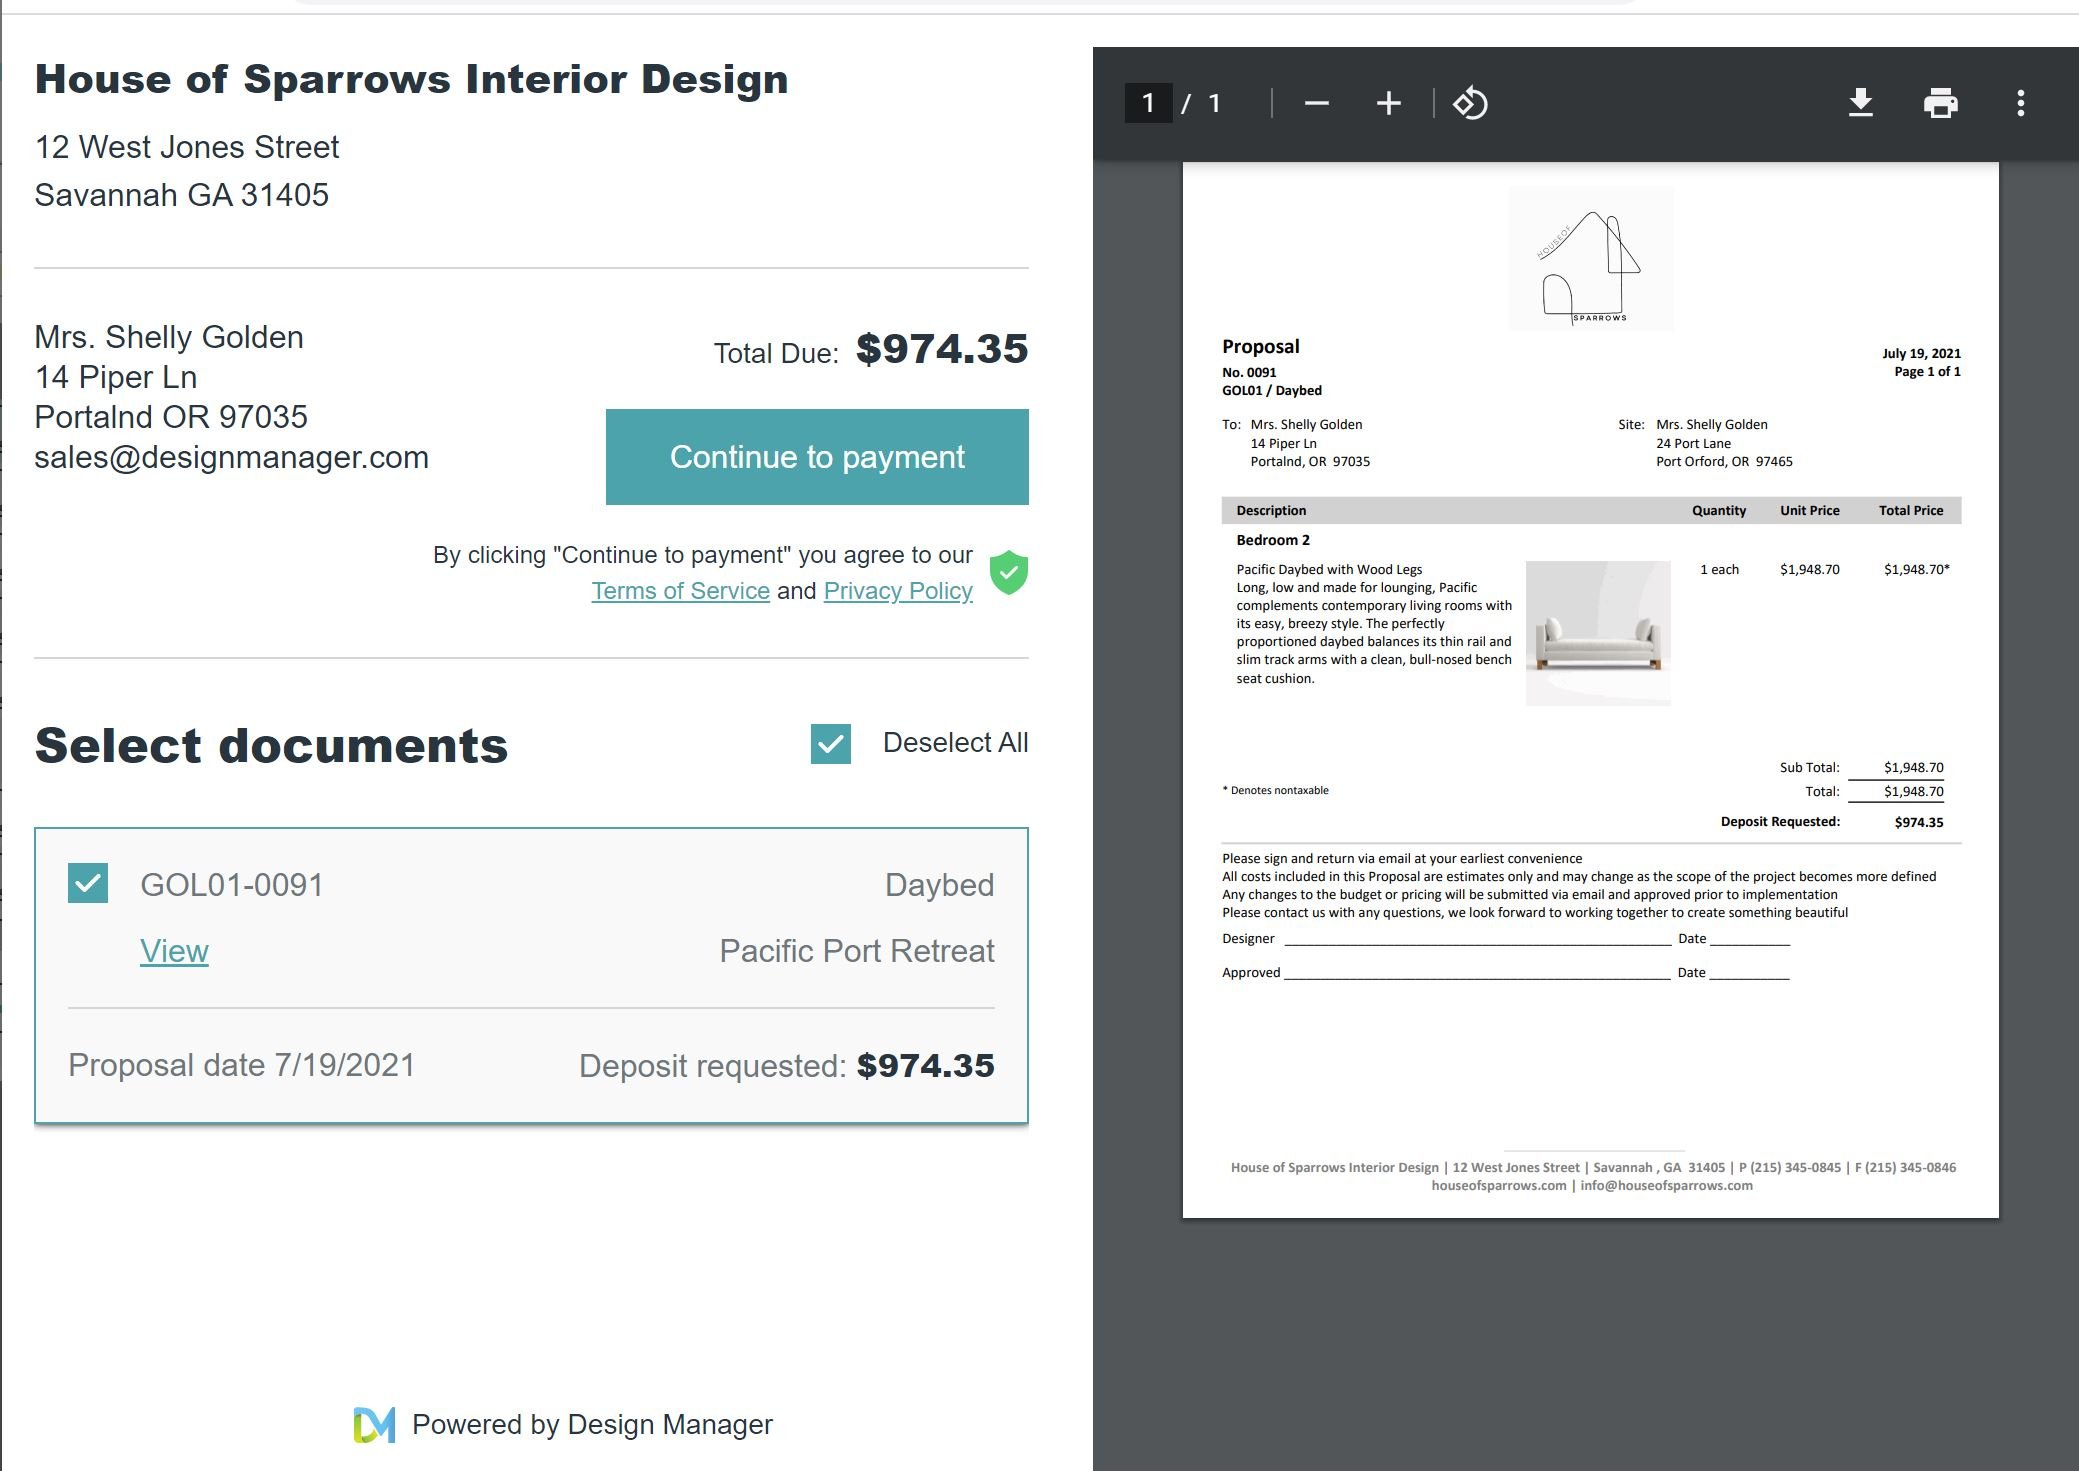
Simply click “OK” at the bottom right, and Design Manager will generate the proposal with your company logo, a professional format, and images of the item(s) if you have included them in the item file.

Now you have your first client proposal!
Finding the right tools can help take your interior design business to new heights, but trying out new platforms can be difficult and time-consuming. Fortunately, Design Manager makes getting started so quick and easy, you won’t fall behind on your to-do list. Don’t wait another day to see how Design Manager can transform your interior design business and give you more time to focus on doing what you love most – creating beautiful art!
Looking for a more personal tour of the software?